Chat2Graph LogoChat2Graph

快速开始

1. 准备环境

准备符合要求的 Python 和 NodeJS 版本。

你也可以使用 conda 等工具安装Python环境。

conda create -n chat2graph_env python=3.10
conda activate chat2graph_env

2. 构建启动

2.1. 下载源码

git clone https://github.com/TuGraph-family/chat2graph.git

2.2. 构建 Chat2Graph

cd chat2graph
./bin/build.sh

2.3. 配置系统参数

基于 .env.template 准备.env文件。

cp .env.template .env

配置环境变量(如 LLM 参数),推荐使用DeepSeek-V3模型(详见 配置 .env)。

LLM_NAME=openai/deepseek-ai/DeepSeek-V3
LLM_ENDPOINT=https://api.siliconflow.cn/v1
LLM_APIKEY={your-llm-api-key}
 
EMBEDDING_MODEL_NAME=Qwen/Qwen3-Embedding-4B
EMBEDDING_MODEL_ENDPOINT=https://api.siliconflow.cn/v1/embeddings
EMBEDDING_MODEL_APIKEY={your-llm-api-key}

2.4. 启动 Chat2Graph

./bin/start.sh

当看到如下日志后,说明 Chat2Graph 服务启动完成。

Starting server...
Web resources location: /Users/florian/code/chat2graph/app/server/web
System database url: sqlite:////Users/florian/.chat2graph/system/chat2graph.db
Loading AgenticService from app/core/sdk/chat2graph.yml with encoding utf-8
Init application: Chat2Graph
Init the Leader agent
Init the Expert agents
  ____ _           _   ____   ____                 _     
 / ___| |__   __ _| |_|___ \ / ___|_ __ __ _ _ __ | |__  
| |   | '_ \ / _` | __| __) | |  _| '__/ _` | '_ \| '_ \ 
| |___| | | | (_| | |_ / __/| |_| | | | (_| | |_) | | | |
 \____|_| |_|\__,_|\__|_____|\____|_|  \__,_| .__/|_| |_|
                                            |_|          

 * Serving Flask app 'bootstrap'
 * Debug mode: off
WARNING: This is a development server. Do not use it in a production deployment. Use a production WSGI server instead.
 * Running on all addresses (0.0.0.0)
 * Running on http://127.0.0.1:5010
 * Running on http://192.168.1.1:5010
Chat2Graph server started success ! (pid: 16483)

3. 使用 Chat2Graph

你可以在浏览器访问 http://localhost:5010/ 使用 Chat2Graph。产品使用细节可参考「使用手册」。

Document Image

3.1. 注册图数据库

提前注册图数据库实例,可以体验完整的 Chat2Graph 的「与图对话」功能。当前支持 Neo4j 和 TuGraph 图数据库。

Document Image

具体请参考文档「图数据库」文档。

3.2. 与图对话

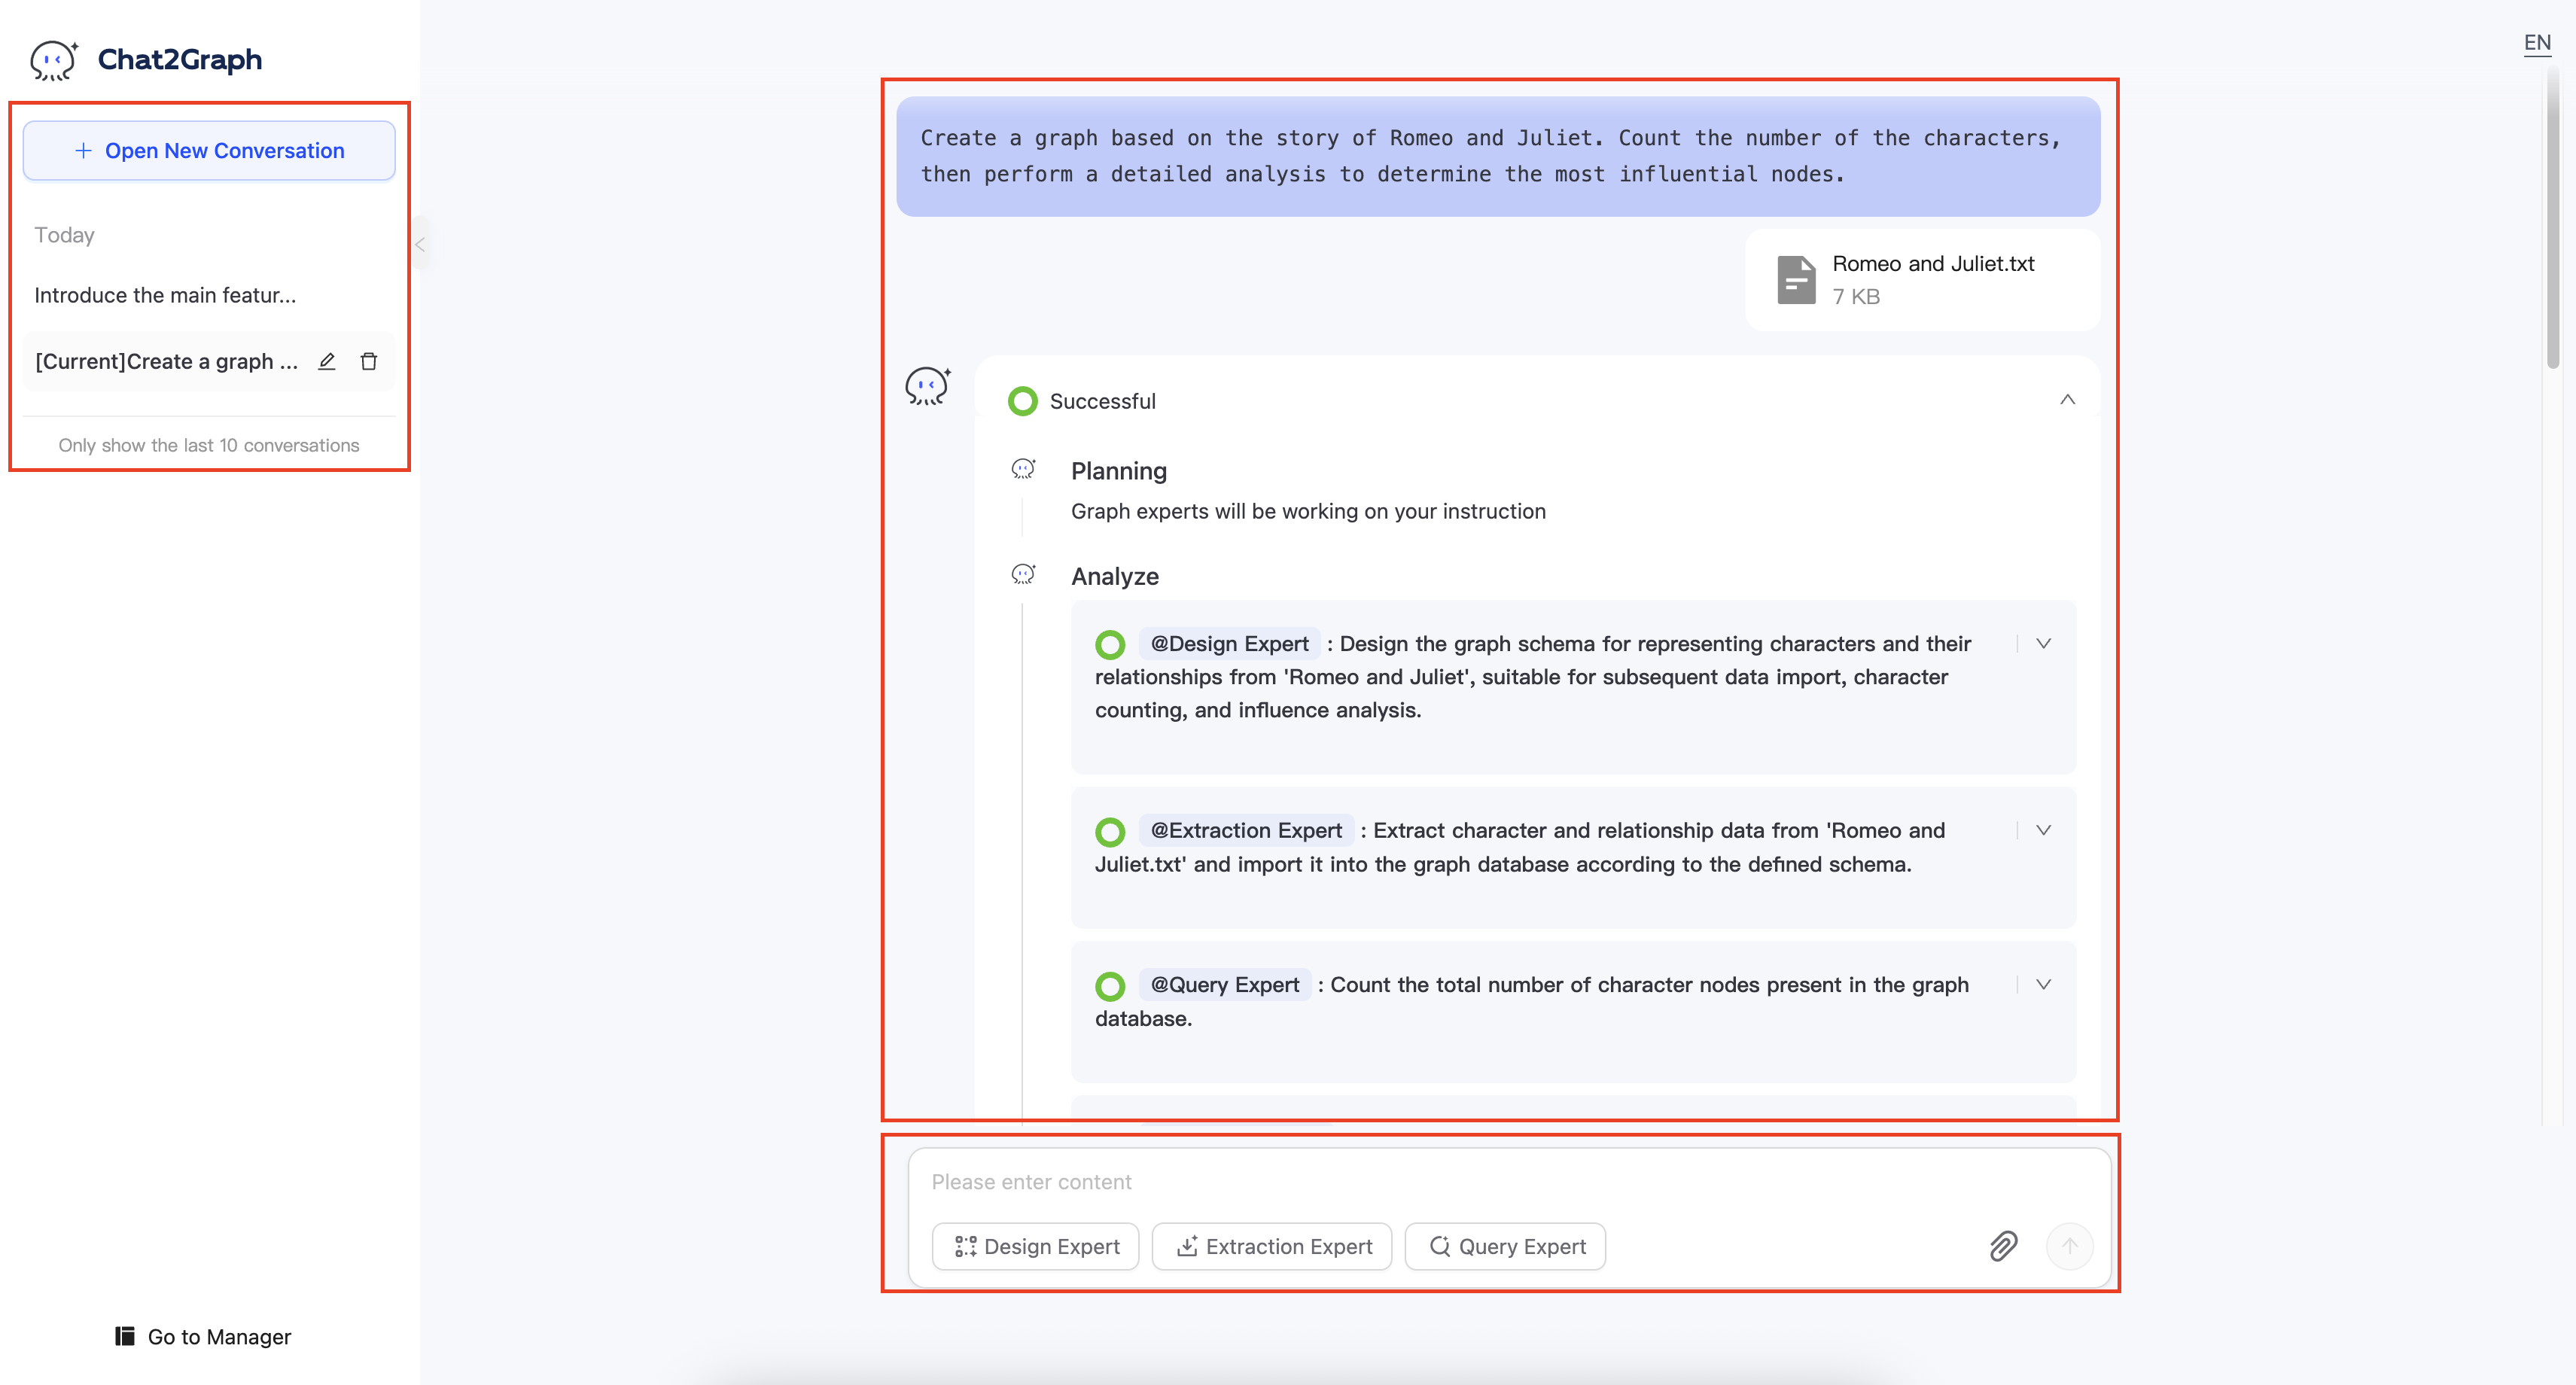
自动完成知识图谱的构建与分析任务。
Document Image

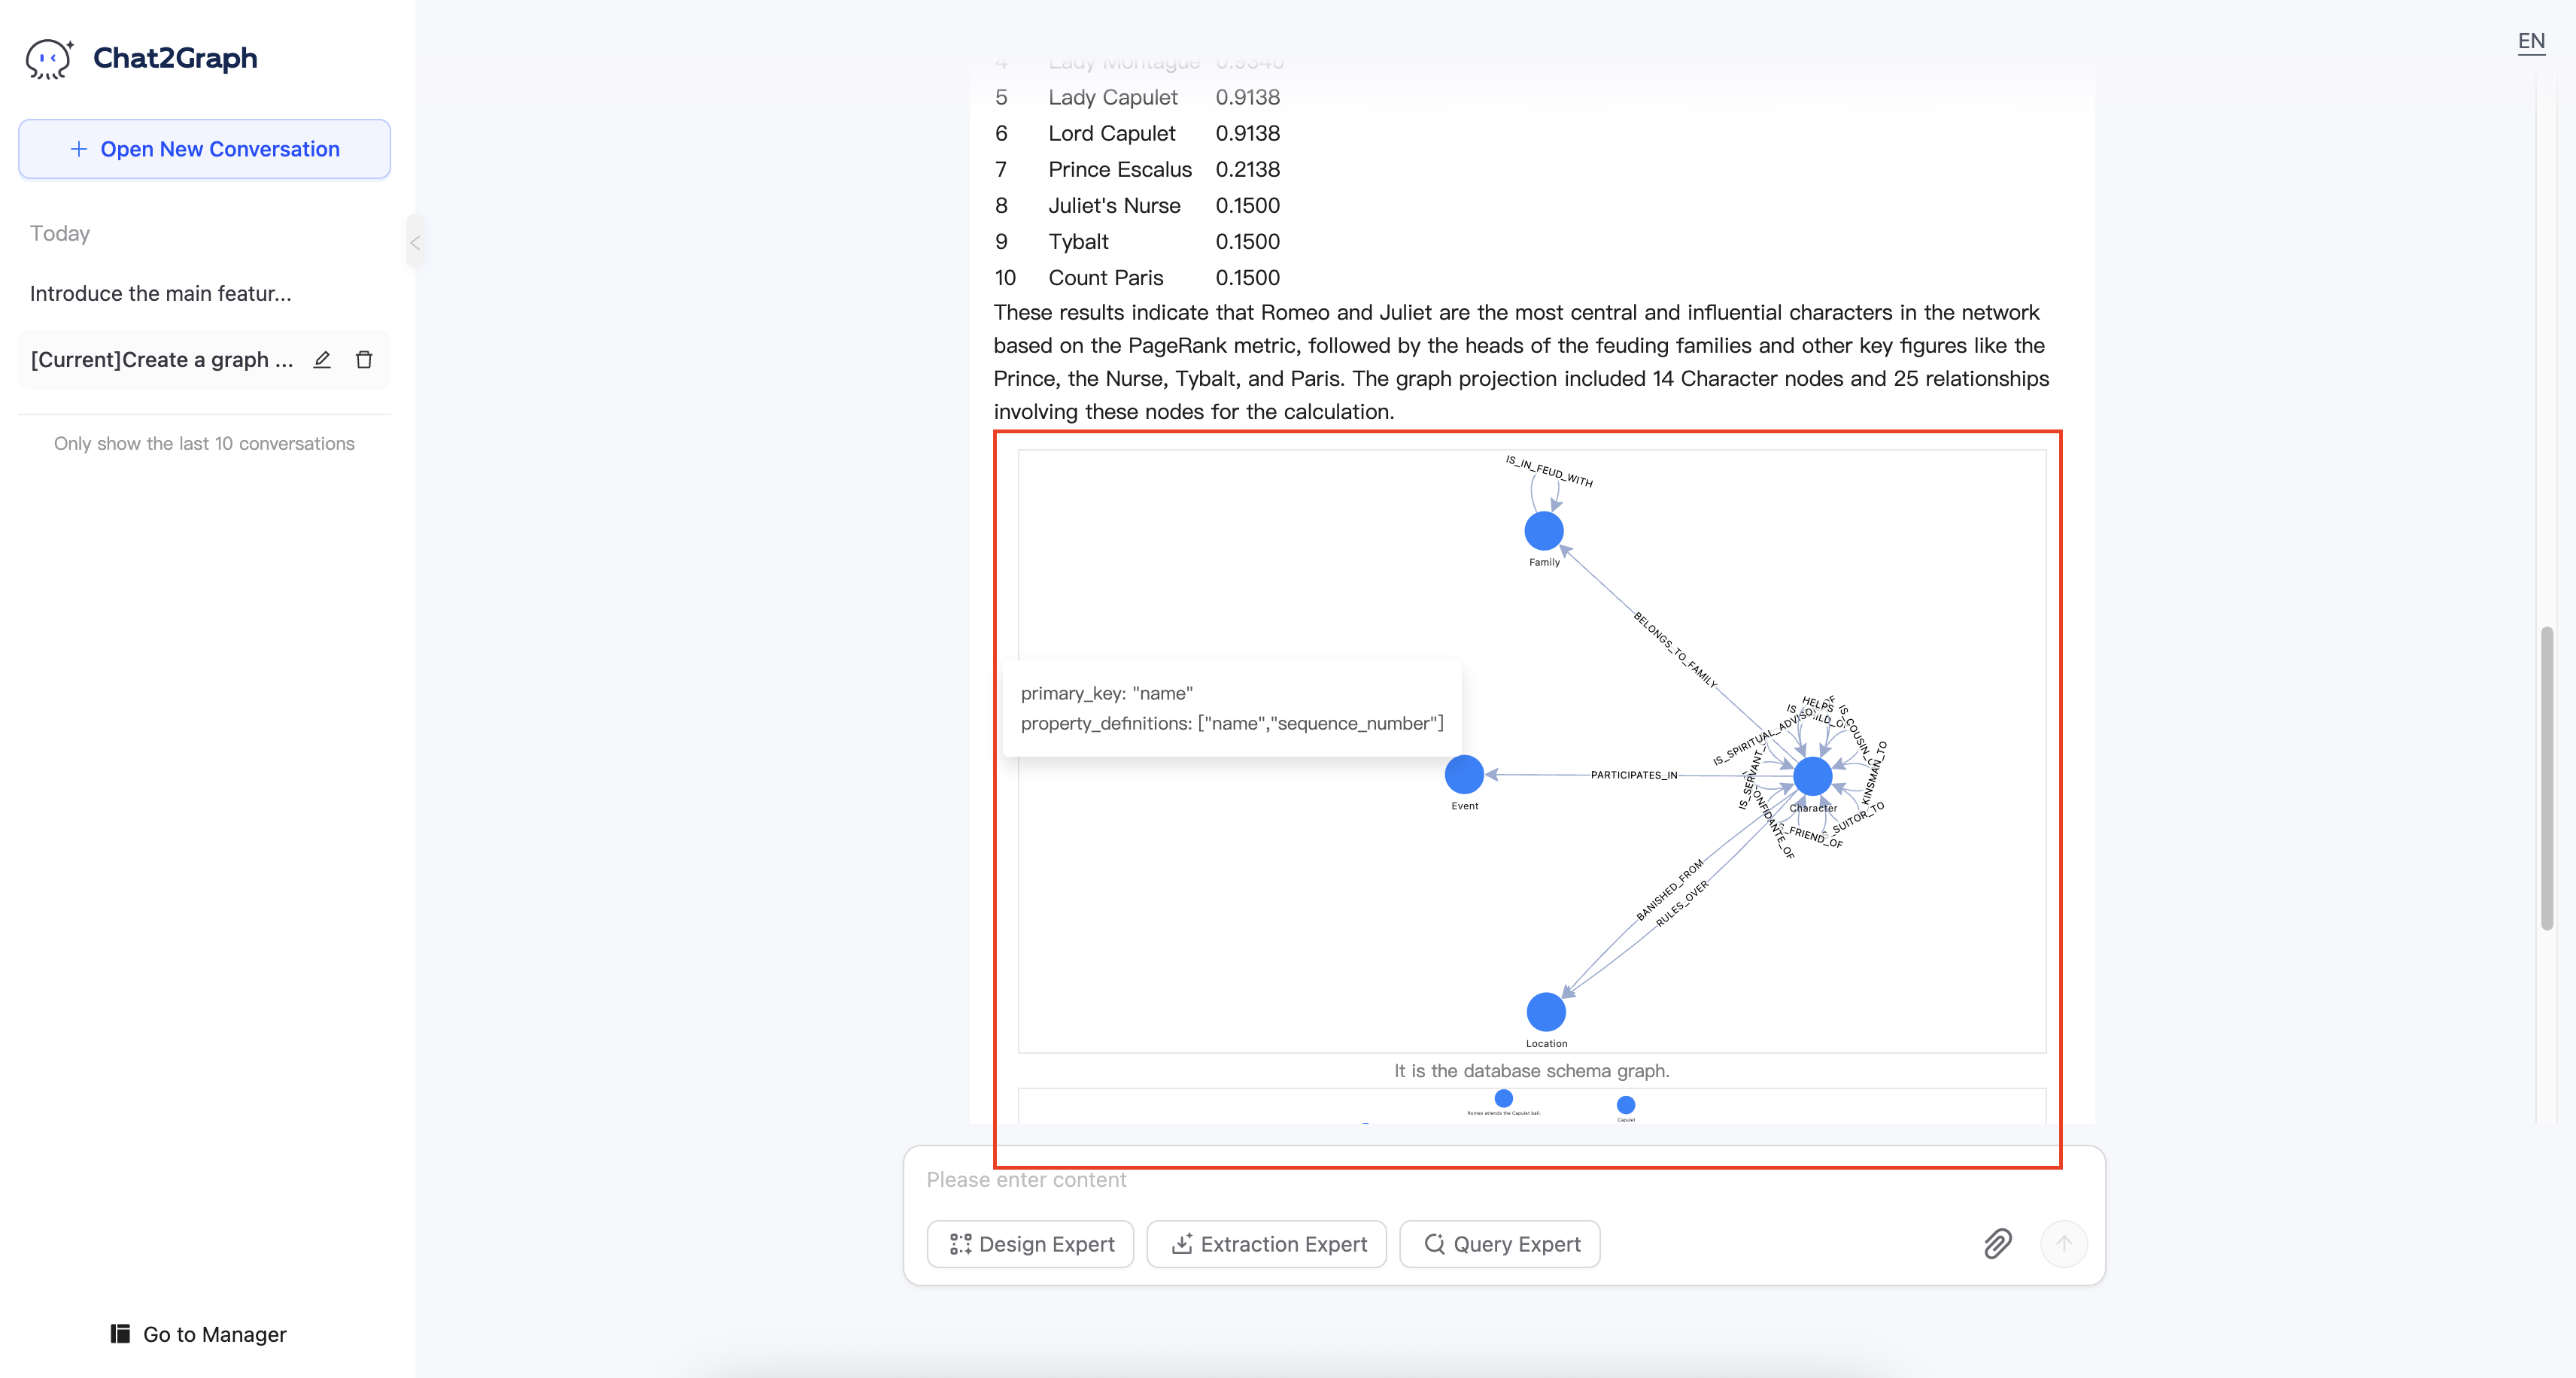
支持图模型与图数据的实时渲染。

Document Image

4. 集成 Chat2Graph

Chat2Graph 提供了清晰简洁的 SDK API,让你轻松定制智能体系统。详情请参考「SDK 开发手册」。

4.1. 配置 LLM 参数

SystemEnv.LLM_NAME="openai/deepseek-ai/DeepSeek-V3"
SystemEnv.LLM_ENDPOINT="https://api.siliconflow.cn/v1"
SystemEnv.LLM_APIKEY="{your-llm-api-key}"
 
SystemEnv.EMBEDDING_MODEL_NAME="Qwen/Qwen3-Embedding-4B"
SystemEnv.EMBEDDING_MODEL_ENDPOINT="https://api.siliconflow.cn/v1/embeddings"
SystemEnv.EMBEDDING_MODEL_APIKEY="{your-llm-api-key}"

4.2. 初始化 AgenticService

仿写 chat2graph.yml 文件,一键初始化 AgenticService。

chat2graph = AgenticService.load("app/core/sdk/chat2graph.yml")

4.3. 同步调用智能体

answer = chat2graph.execute("What is TuGraph ?").get_payload()

4.4. 异步调用智能体

job = chat2graph.session().submit("What is TuGraph ?")
answer = job.wait().get_payload()