Chat2Graph LogoChat2Graph

Quickstart

1. Preparation

Prepare the required versions of Python and NodeJS.

You can also use tools like conda to install the python environment.

conda create -n chat2graph_env python=3.10
conda activate chat2graph_env

2. Build & Start

2.1. Clone Code

git clone https://github.com/TuGraph-family/chat2graph.git

2.2. Build Chat2Graph

cd chat2graph
./bin/build.sh

2.3. System Configuration

Prepare .env file based on .env.template.

cp .env.template .env

Configure environment variables (e.g., LLM parameters), model DeepSeek-V3 is recommended (see Configure .env).

LLM_NAME=openai/deepseek-ai/DeepSeek-V3
LLM_ENDPOINT=https://api.siliconflow.cn/v1
LLM_APIKEY={your-llm-api-key}
 
EMBEDDING_MODEL_NAME=Qwen/Qwen3-Embedding-4B
EMBEDDING_MODEL_ENDPOINT=https://api.siliconflow.cn/v1/embeddings
EMBEDDING_MODEL_APIKEY={your-llm-api-key}

2.4. Start Chat2Graph

./bin/start.sh

The following log indicates that the Chat2Graph server has been started.

Starting server...
Web resources location: /Users/florian/code/chat2graph/app/server/web
System database url: sqlite:////Users/florian/.chat2graph/system/chat2graph.db
Loading AgenticService from app/core/sdk/chat2graph.yml with encoding utf-8
Init application: Chat2Graph
Init the Leader agent
Init the Expert agents
  ____ _           _   ____   ____                 _     
 / ___| |__   __ _| |_|___ \ / ___|_ __ __ _ _ __ | |__  
| |   | '_ \ / _` | __| __) | |  _| '__/ _` | '_ \| '_ \ 
| |___| | | | (_| | |_ / __/| |_| | | | (_| | |_) | | | |
 \____|_| |_|\__,_|\__|_____|\____|_|  \__,_| .__/|_| |_|
                                            |_|          

 * Serving Flask app 'bootstrap'
 * Debug mode: off
WARNING: This is a development server. Do not use it in a production deployment. Use a production WSGI server instead.
 * Running on all addresses (0.0.0.0)
 * Running on http://127.0.0.1:5010
 * Running on http://192.168.1.1:5010
Chat2Graph server started success ! (pid: 16483)

3. Use Chat2Graph

You can access Chat2Graph in the browser at http://localhost:5010/. For detailed usage, refer to the「Cookbook」。

Document Image

3.1. Register Graph Database

Register a graph database instance in advance to experience the full "Chat to Graph" functionality of Chat2Graph. Currently supported databases include Neo4j and TuGraph.

Document Image

For details, refer to the Graph Database documentation.

3.2. Chat to Graph

Automatically complete knowledge graph construction and analysis tasks.

Document Image

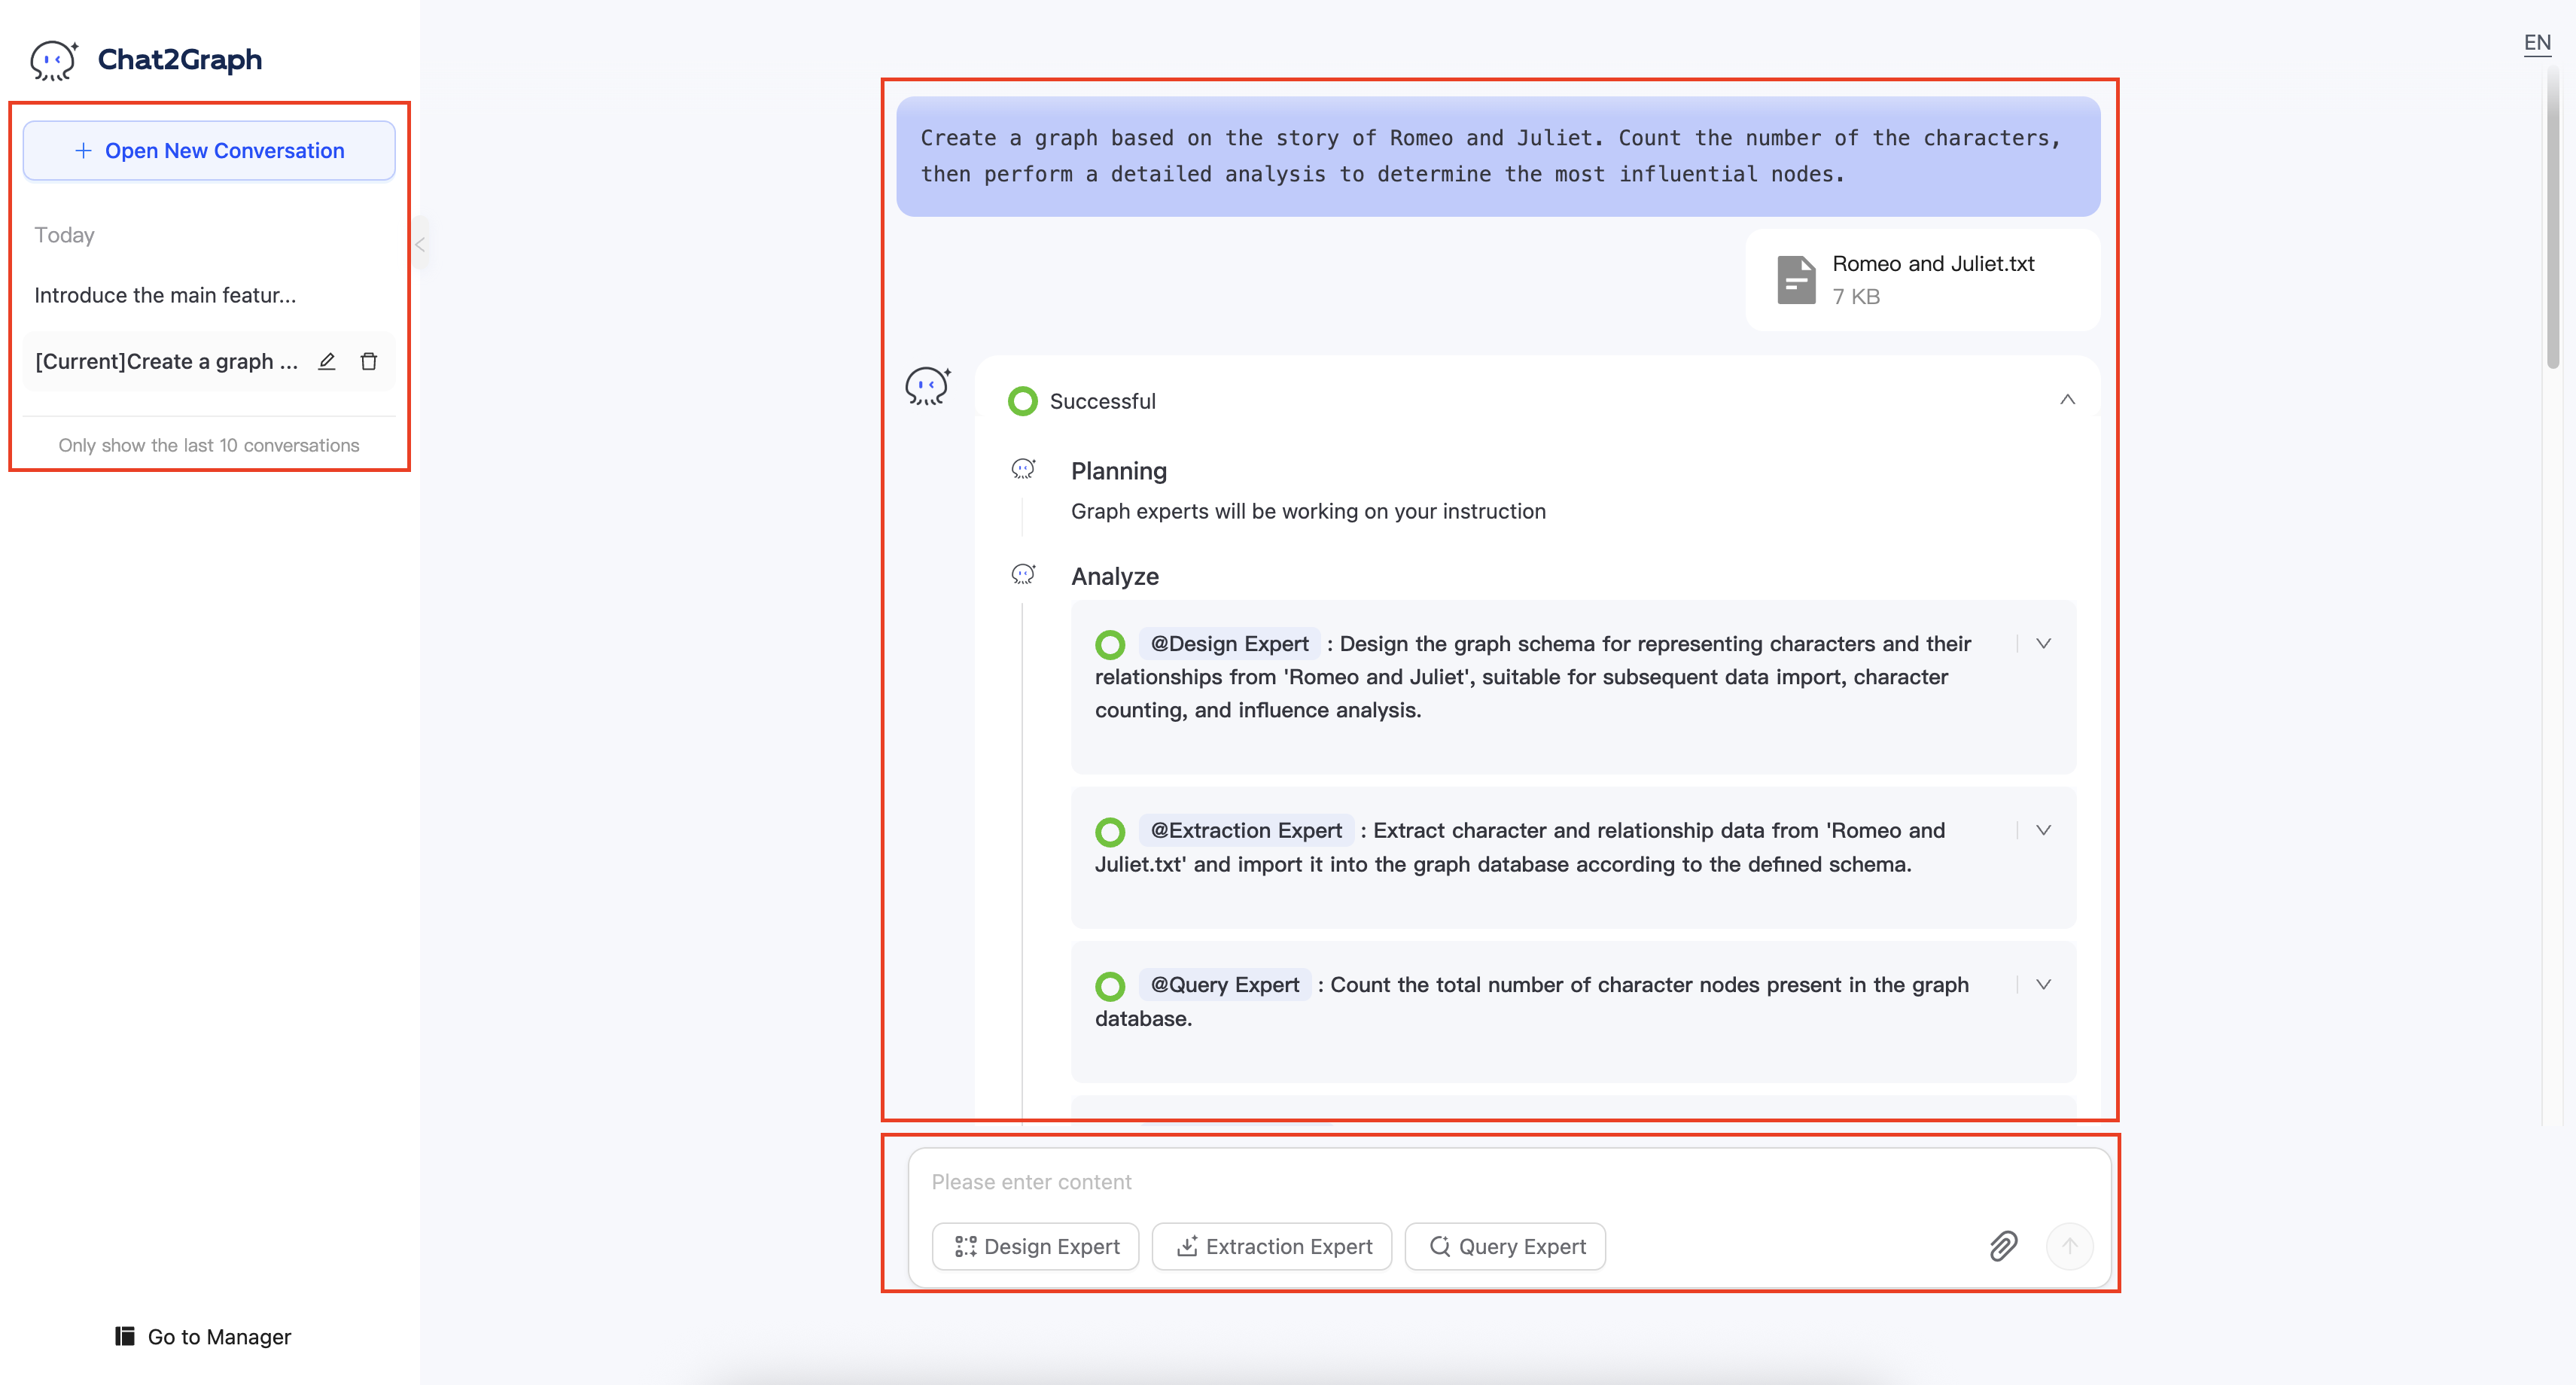
Supports real-time rendering of graph models and data.

Document Image

4. Integrate Chat2Graph

Chat2Graph provides a clean and simple SDK API, allowing you to easily customize the agent system. For details, refer to the「SDK Reference」。

4.1. Configure LLM Parameters

SystemEnv.LLM_NAME="openai/deepseek-ai/DeepSeek-V3"
SystemEnv.LLM_ENDPOINT="https://api.siliconflow.cn/v1"
SystemEnv.LLM_APIKEY="{your-llm-api-key}"
 
SystemEnv.EMBEDDING_MODEL_NAME="Qwen/Qwen3-Embedding-4B"
SystemEnv.EMBEDDING_MODEL_ENDPOINT="https://api.siliconflow.cn/v1/embeddings"
SystemEnv.EMBEDDING_MODEL_APIKEY="{your-llm-api-key}"

4.2. Initialize AgenticService

Customize chat2graph.yml file to initialize AgenticService with one click.

chat2graph = AgenticService.load("app/core/sdk/chat2graph.yml")

4.3. Synchronous Execution

answer = chat2graph.execute("What is TuGraph ?").get_payload()

4.4. Asynchronous Submission

job = chat2graph.session().submit("What is TuGraph ?")
answer = job.wait().get_payload()